My initial thoughts on Estella was that she was very well done, tidy and clean. Unlike Miss Havsiham, who would be more the kind of Victorian women who would change her clothes 4-5 times a day, look very conservative, wear big fancy dresses and tight corsets. I feel she would keep herself very up together all the time and look flawless, to attract the attention of men to then break their hearts. Maybe this is another reason Miss Havisham has let herself go as she if focusing all her attention on Estellas appearance?
My first initial thoughts on Estellas make up is that she would have very little if any at all. A rosy cheek and perfect skin. However as time goes on and Estella grows up although make up wasn't used often in the Victorian Era i feel Estella might start using it when she moves to London.
My first thoughts on Estella hair would also vary as to what time it is in her life. When she's young i think there would be elements of her cruel side coming off in her hair but also a lot more curls and waves going through it. However as she grows older i think it would get neater, tighter, slicker and blunter.
Some images from Pinterest:
http://www.pinterest.com/lailahamidi/estella/
My Estella!
Estella Hair:
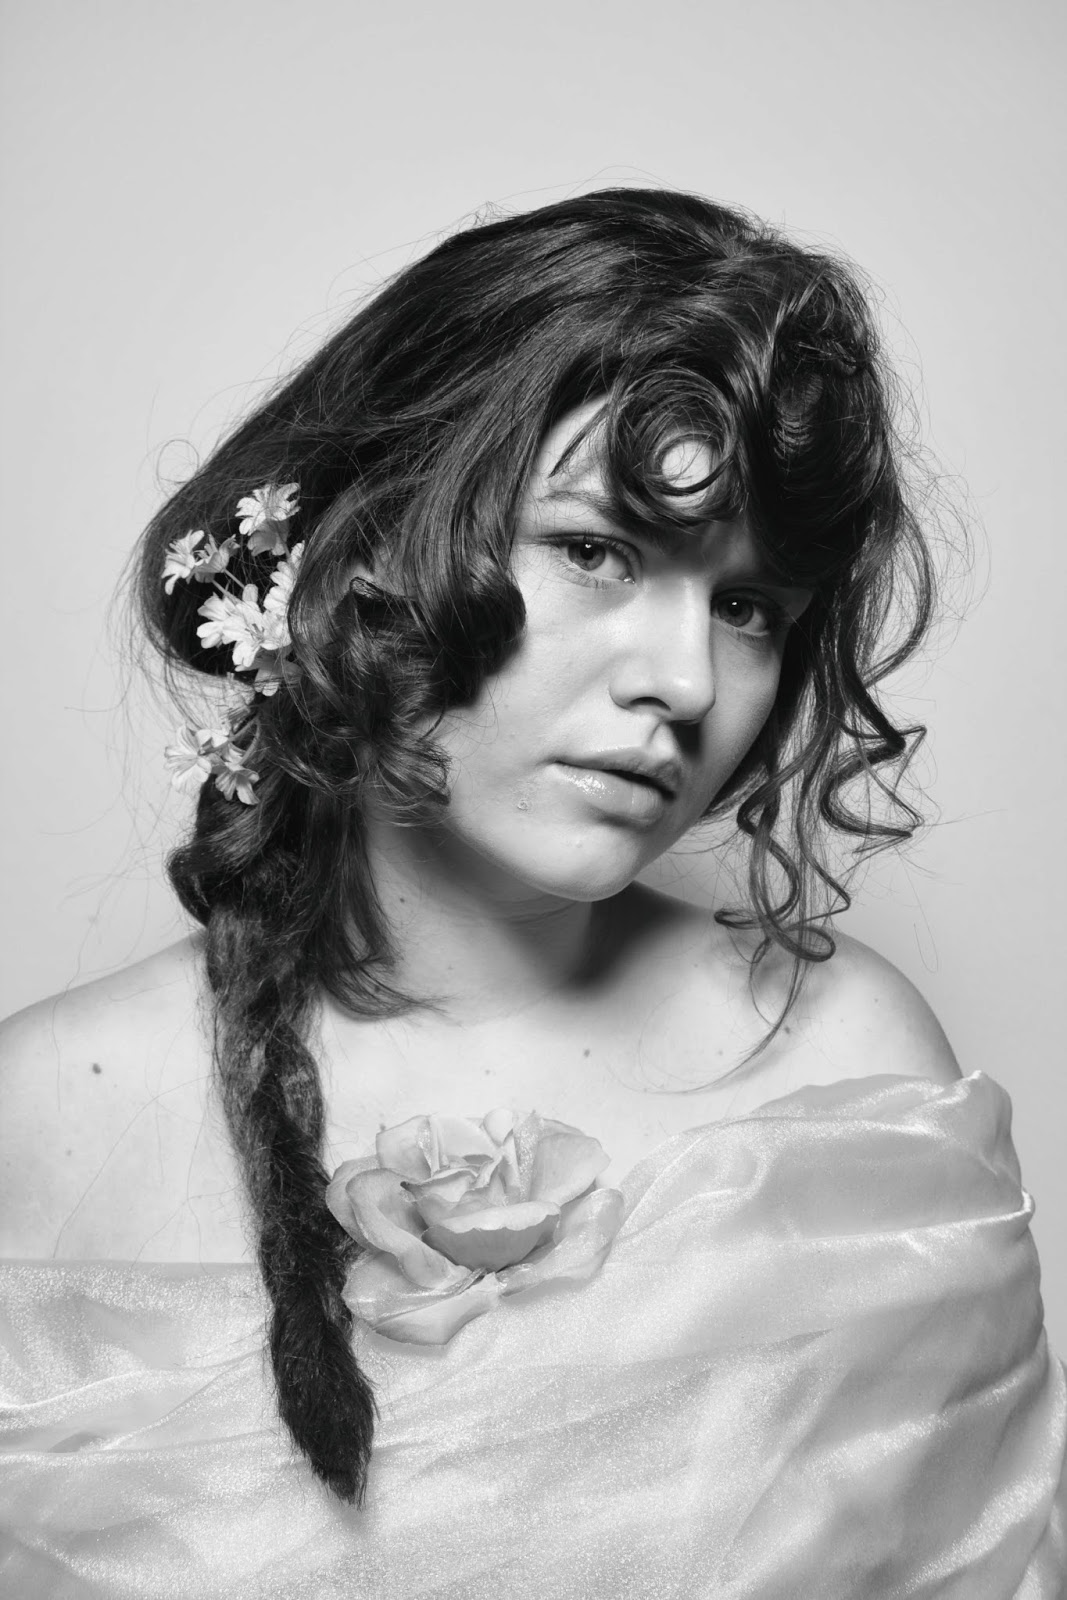
I think Estella has a very cruel side but there are aspects of her personality which show a warmer side to her. I wanted to try and incorporate both of these in my hair look. I think to be able to do this i would need to do a younger Estella, as when she gets older i feel like her hair would be more cruel looking rather than having aspects of both. As when she is younger she still has that bit of innocence in her which would come across in her hair. To create the more cruel side i went back to my 'cruel' pinterest bored where i had images that i thought the hair represented the word 'cruel.' These images were mainly of fringes covering the face, and had very sharp, harsh and blunt edges of the hair.
After researching for a victorian hairstyles on pinterest which i felt like reflected Estellas character i came up with an idea for the hair. I decided to go for a half up half down style.
With the hair that is down i wanted to plait it, but make it look quite straight and blunt, (not like your normal plait which is more loose and flowy.) I would achieve this by hair spraying the plait front and black and then go over it with straighteners which would give this effect. The plait would also be made out of extensions. The section that i would be putting up I would create a large structure using padding which had defined edges. I also want to use a clip on fringe as my model does not have one.
I also wanted to incorporate Estellas more warm and loving side. For this i wanted to curl the front section and leave it loose and flowing and add flowers to the hair. Although the images have to be in black and white, if they didnt i would add different colours, like reds and oranges to show her warm side too as i feel these are warm colours.
First experimentation:
 |
| I sprayed the outside with dry shampoo to see what it would photograph like it black and white. |
Experimentation on my partner Millie:
After experimenting on Millie i wasn't too sure i wanted the fringe to be so harsh, as although it is part of what i wanted for my look and my interpretation on Estella. I also need to remember that my Estella is in her teens and don't think it would have started off so harsh, but it would develop as she got older. So for the final look of Estella i would make a fringe out of the curled hair so it still covers the forehead but in keeps with the age of my Estella.
Estella Make up:
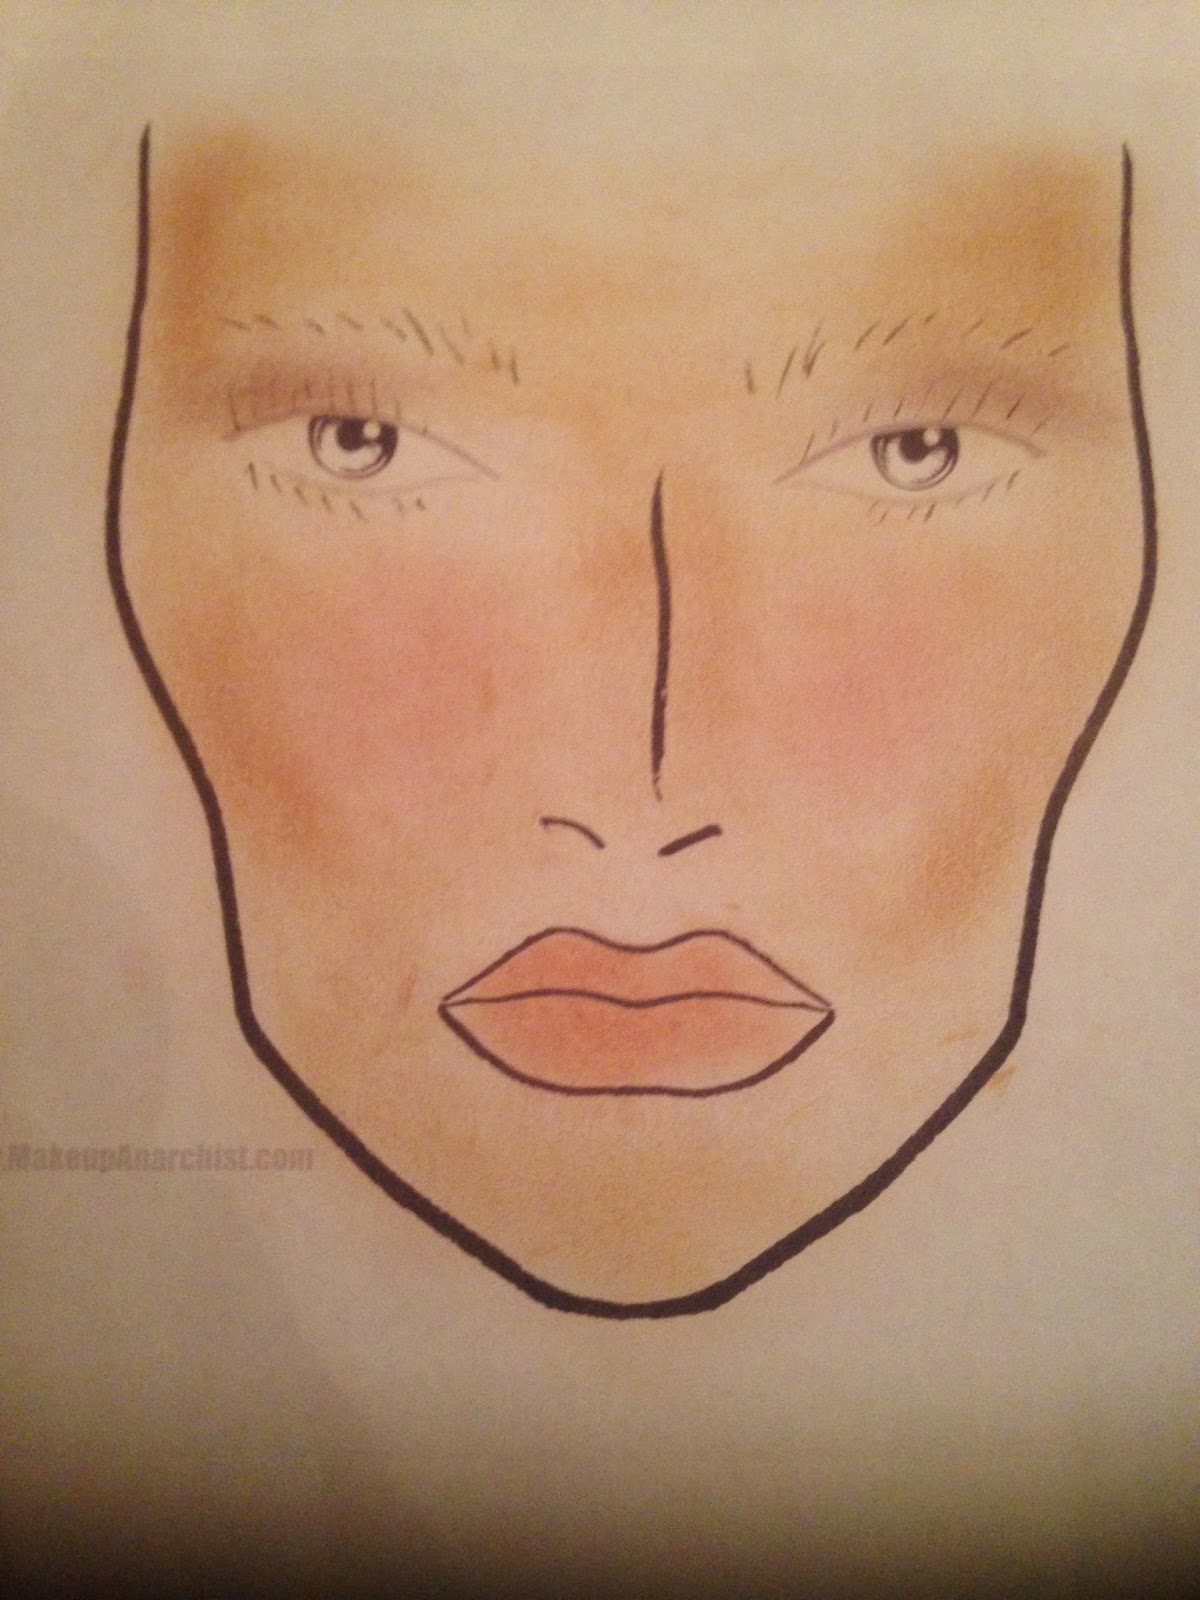
As i decided to create an Estella who was in her teens i think she would be very natural looking. Also through research for Miss Havisham, make up wasn't worn by the everyday woman in the Victorian era (mainly prostitutes) so i don't think Estella would be wearing it for two reasons. One because of her age and two because of the period it is based in.
 |
| http://www.pinterest.com/pin/481322278897608468/ |
I want to keep in very natural and have a good base, some highlighting and shading, a small amount of blush, and a very natural glossy lip. Also where the photos are being taken in black and white these are the areas that need to focused on the most.
Face chart 1:
I think as Estella gets older and moves to London she would start wearing more make up maybe to catch the attention of men. So the same as the hair, as she ages and progresses, so does her look.
Experimentation of design:
Final shoot:
Make up products
and step by steps:
- Mac foundation.
- Derma colour.
- Mac bronzer.
- Lip rouge mini
pallete.
- Screenface
eyeshadow pallete
- Mac lipgloss.
- Illamasqua satin
primer.
- Bobbie brown
blusher.
- Illamasqua
translucent powder.
Apply primer and
foundation a blend well. Powder.
Contour face and
highlight. Highlight under eyebrows and eyes too.
Apply blush to
cheeks subtly
Apply lip colour
to lips and gloss.
Curl eyelashes.
Hair products
and step by steps:
- Brush
- Section comb.
- Grips
- Hairspray.
- Padding
- Fringe
- Extension.
Section hair
creating four equal sections from top to back, add padding and wrap hair
around. Do this with all sections.
Grip in
extension at the bottom and cover parts that show.
Curl front
section.
Clip in fringe.
Add flowers to
the left side and grip in by plait.
Spray outside of
structure with dry shampoo to give a lighter shade to show in black and white.